
DREAM TILE INSTALLATIONFrom Design to Completion

TILE INSTALLATION SERVICES

Surface Preparation and Leveling

The Part You Won’t See—Until It Shows

The tile may get the compliments, but the surface underneath does a lot of the quiet work. A wall or floor that looks nearly straight at first glance can tell a different story once tile installation begins.

At Dream Tile Installation, we pay attention to that foundation: the condition of the base, the materials it needs and how the layers work together. Proper preparation gives the tile a suitable surface to bond to and supports the long-term performance of the finished installation.

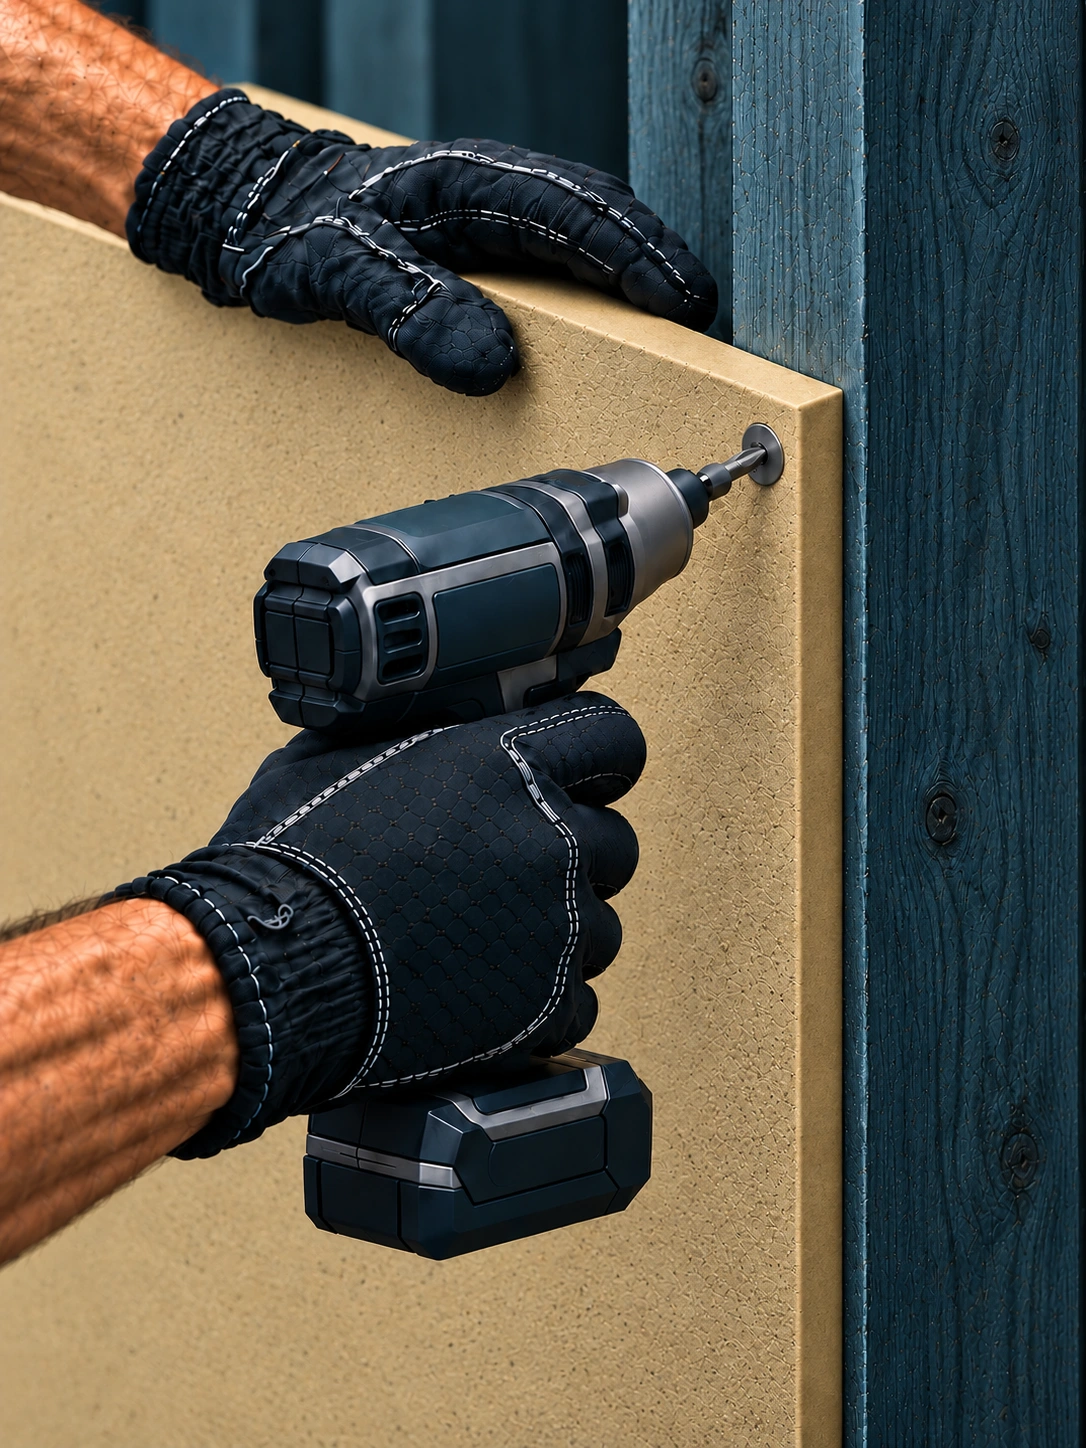
Illustration of gloved hands fastening a backer board to wooden framing with a cordless screwdriver

The Right Foundation for Your Tile

There is no shortage of preparation products on the market. The important question is which ones belong in your particular project—and how they work together.

A floor, a dry interior wall and a shower area do not all ask for the same preparation. The existing base, its condition, exposure to moisture and the selected tile help determine the approach. Depending on the application, that may involve:

  • Preparing a clean, sound surface suitable for bonding.
  • Selecting appropriate backing boards or underlayments.
  • Choosing compatible primers, repair materials and leveling compounds where required.
  • Incorporating waterproofing where the project calls for it.

A good product in the wrong place is still the wrong choice. We pay attention to the role of each material and its compatibility with the rest of the installation, because the foundation matters to how the tiled surface performs over time.

Thinking of Doing the Preparation Yourself?

We understand the wish to take part in your renovation. Just bear in mind that a surface can look ready while an important detail is still missing.

Without experience, it is easier to overlook an unsuitable material, an issue with the base or a detail the chosen system requires. Those omissions may not show up immediately, but they can lead to problems that require repairs—even removal of finished tile to reach what is underneath.

If you plan to prepare the area yourself, let’s discuss the intended materials and what has already been done before tile installation begins. It is a better time for that conversation than after the new tile has gone on.
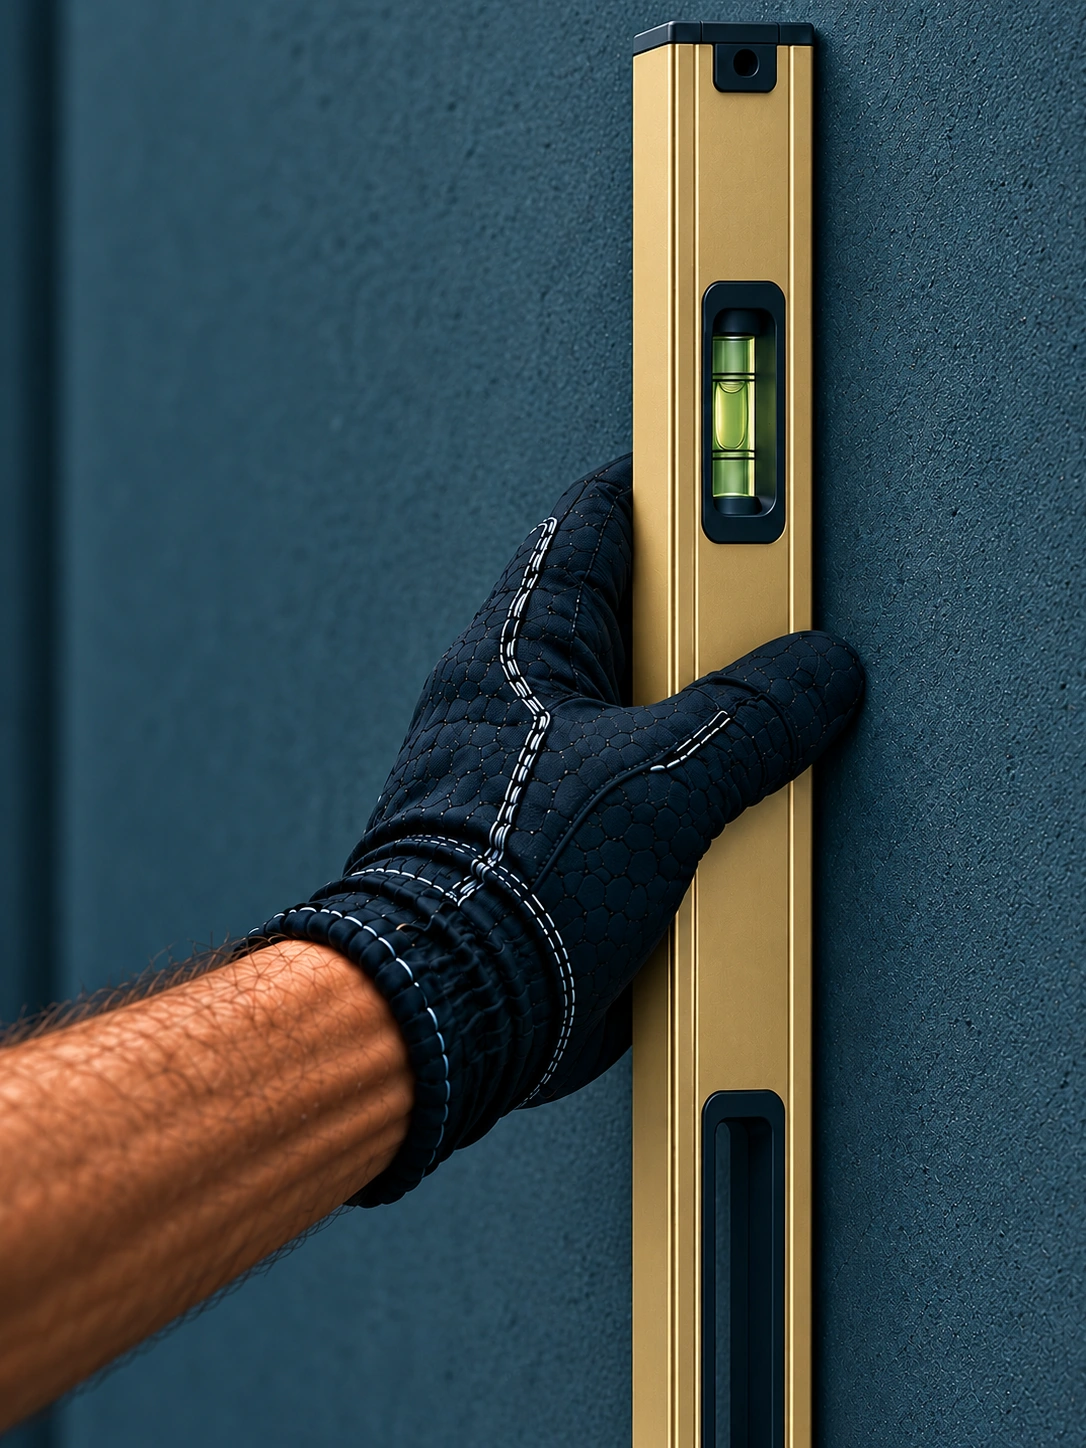
Illustration of a gloved hand holding a long spirit level against an unfinished wall to assess alignment

A Good Finish Starts Before the First Tile

Tile is a finish, not a magic eraser for an uneven wall. Checking the working surface early helps identify corrections before they become part of the finished view.

The aim is a surface suited to the tile and the application. Flat does not always mean horizontal: where drainage requires a slope, that slope needs to stay. What we want to avoid is unwanted waviness, high spots and hollows that interfere with the installation and its appearance.

Two Places to Put a Wall Right

Depending on how far the preparation has progressed, correcting a wall may involve:

  • At the framing: where appropriate, planing high stud faces or adding shims at low areas before the boards go on, bringing the supporting faces into a consistent plane.
  • At the installed substrate: using a suitable patching or rendering compound to correct an uneven surface, where the existing substrate and installation system allow it.

Sometimes boards have already been installed—and even waterproofed—before the unevenness is recognized. A surface can look ready for tile without actually being flat enough for it. In that situation, the correction needs to suit the existing system and preserve or properly restore its waterproofing.

The Right Material for the Correction

We use suitable wall-preparation compounds to fill low areas and create an even surface. For floors, self-leveling materials can be used where appropriate for the existing base and installation system. Primers are applied where required to help the preparation materials bond to the surface.

When the Surface Adds a Surprise

Not every uneven area is obvious at the first visit. Some conditions become clearer only when existing finishes are removed or the work area is exposed.

If necessary leveling was outside the original agreed scope, it can mean additional work and additional charges. The materials needed for that correction can also add to the cost. These are details to review together when the condition becomes known, rather than leaving the extra preparation unexplained.

An experienced assessment helps identify what can be seen in advance. When the surface reveals something new, the important step is to address it before continuing with the tile.

Explore Our Work

PLAN YOUR PROJECT

Estimate your
project cost.

Get a preliminary estimate based on your measurements and project details.

Try the Cost Estimator

YOUR PROJECT

From planning to the finish.

  1. Review the existing surface

    Share photographs, measurements and any known substrate issues.

  2. Assess preparation and alignment

    Discuss the proposed finish and the surface corrections needed.

  3. Confirm the preparation scope

    Agree on the preparation and alignment work included in the estimate.

LET’S TALK ABOUT YOUR SPACE

Let’s Start with the Surface

Share photos of the walls or floors you want tiled and tell us what preparation has already been done. We can discuss the existing condition and what may be needed to give your tile installation a suitable foundation.